How to install JavaScript?
This article is a complementary resource to the Learn JavaScript Basics course.
This article is a complementary resource to the Learn JavaScript Basics course.
JavaScript is a versatile, high-level programming language that is widely supported across all major operating systems.
Let's see how you can set up JavaScript on your computer. This guide will walk you through the installation process on Windows, macOS, or Linux (Ubuntu).
To install JavaScript on your Windows, just follow these steps:
Go to the VS Code Official website and download the Windows installer. Once the download is complete, run the installer and follow the installation process.
Click Finish to complete the installation process
Go to the official Node website and download the Node LTS version.

Now, go to your download folder and run the msi file you just downloaded. Then, you'll come across the install part.

Simply click on install, Node will be successfully installed in your device.
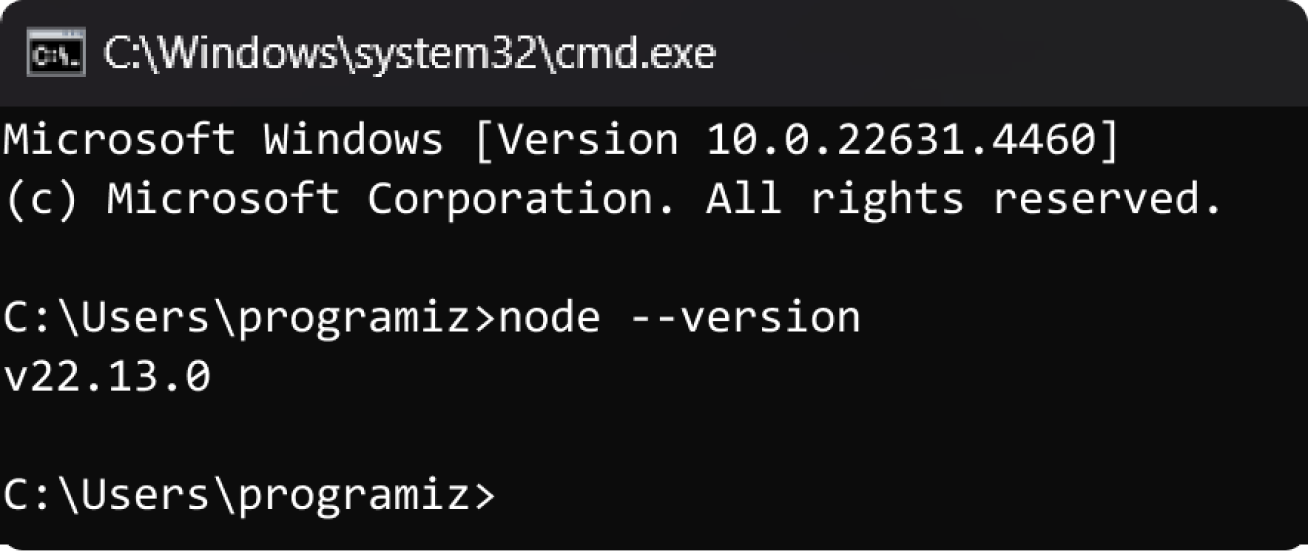
After the installation is complete, you can verify whether JavaScript is installed by using the following command in the command prompt:
node --version
To install JavaScript on your Mac OS, just follow these steps:
Go to the VS Code Official website and download the Mac installer. Once the download is complete, open the .dmg file and drag Visual Studio Code to your Applications folder.
Go to the official Node website and download the Node LTS version.

Open the downloaded .pkg file and follow the on-screen instructions to install Node.js.
After the installation is complete, you can verify whether JavaScript is installed by using the following command in the command prompt:
node --version
Linux has various distributions, and the installation process differs slightly from each other. The following installation process is based on the Ubuntu distribution.
Follow these steps to install Node on your device:
Open the Terminal and type:
sudo apt updateProceed to install VS Code with:
sudo snap install code --classicOpen your Terminal and paste the command to install Node on your device:
sudo snap install node --classicOnce the installation is complete, you can verify whether Node is installed by using the following command in the Terminal:
node --version
First open VS Code, click on the File in the top menu and then select New File.

Then, save this file with a .js extension by clicking on File again, then Save As, and type your filename ending in .js. (Here, we are saving it as helloWorld.js).
Before you start coding, make sure the extension Code Runner is installed in VS Code. Open VS Code and click on Extensions on the left sidebar. Then, search for the Code Runner and click on install.

Now, write the following code into your helloWorld.js file:
console.log("Hello World")
Then click on the run button on the top right side of your screen.

You should see Hello World! printed to the output.